Introduction:
Are you looking for a way to create beautiful Christmas ornaments? This guide will show you how to create felt projects that you could use on the holidays. It’s a fun DIY craft that kids will find easy to make.
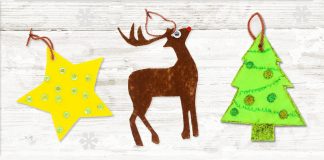
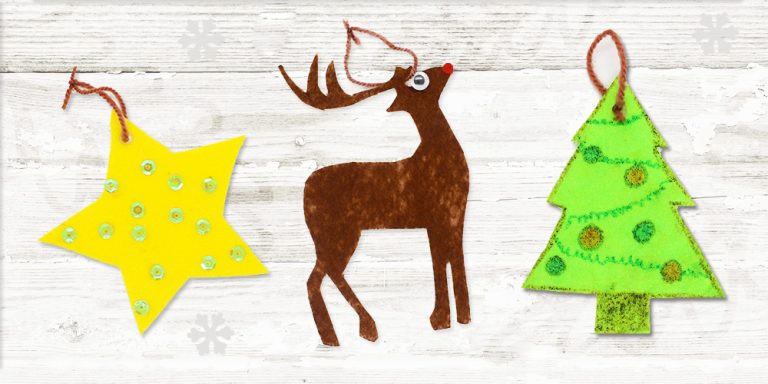
Using a printable stencil, you can decorate your Christmas tree with homemade decorations. Create beautiful trees, reindeer, and stars made out of felt. All you need to do is to print the free templates found below.
These can be hung on your Christmas trees or the walls. We hope you’ll enjoy making these felt projects with your loved ones.

Tools
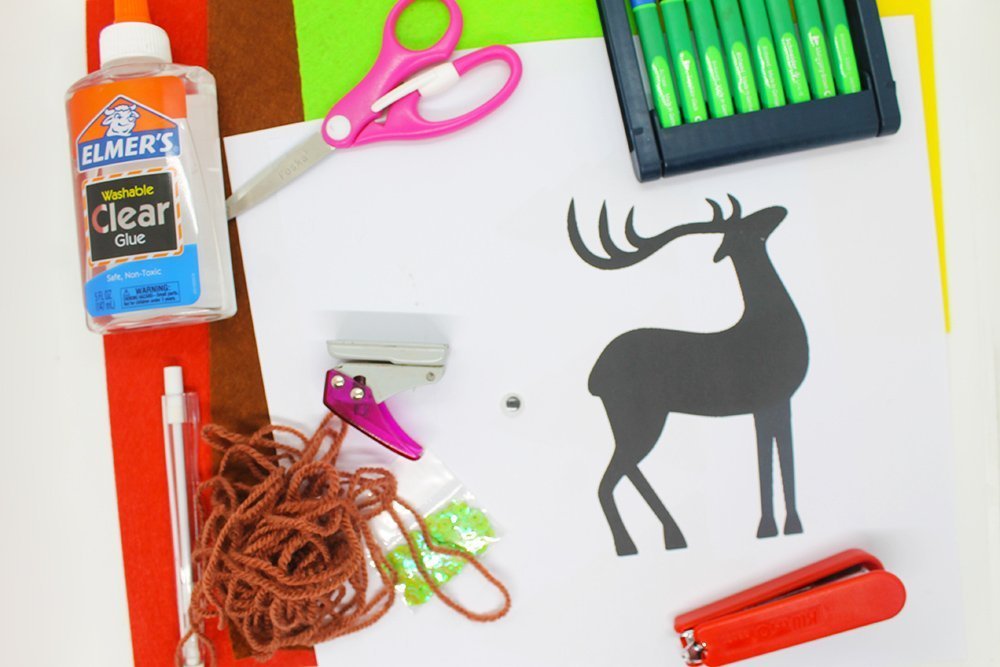
- Scissors
- Coloring Materials like Colored Markers
- Stapler
- Single Hole Puncher
- Pencil
Supplies
- Printed template
- Colored felt paper (atleast 3mm thick)
- Glue
- Yarn or string for hanging
- Googly eyes
- Jewel stickers or sequins

Download Area
Download TemplatePrepare the stencils of the felt project
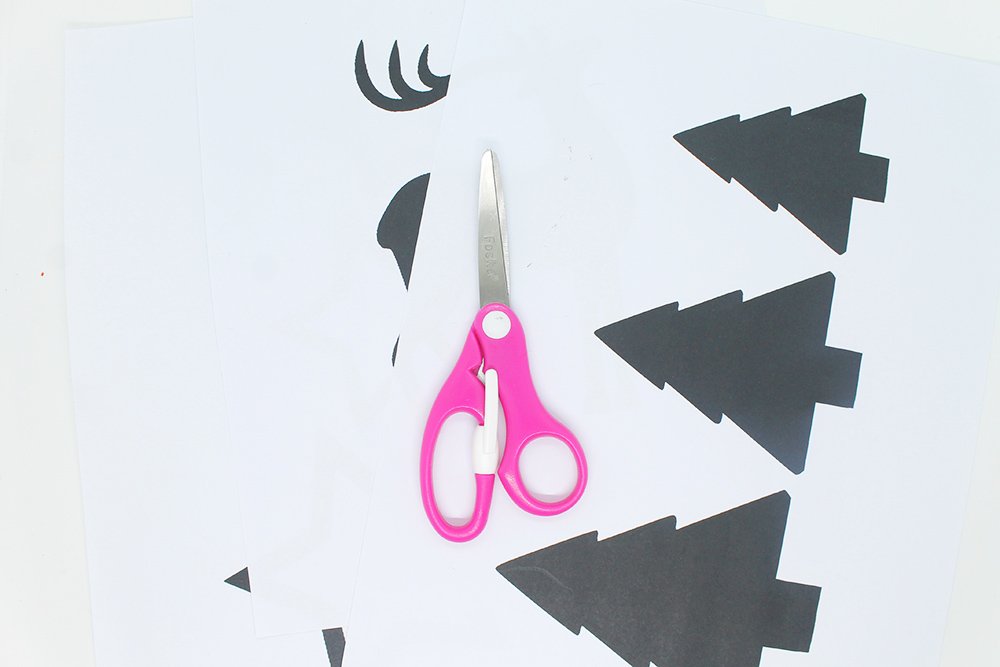
The first thing that you have to do is to download and print the templates. There is a deer, star, and Christmas tree in the template.
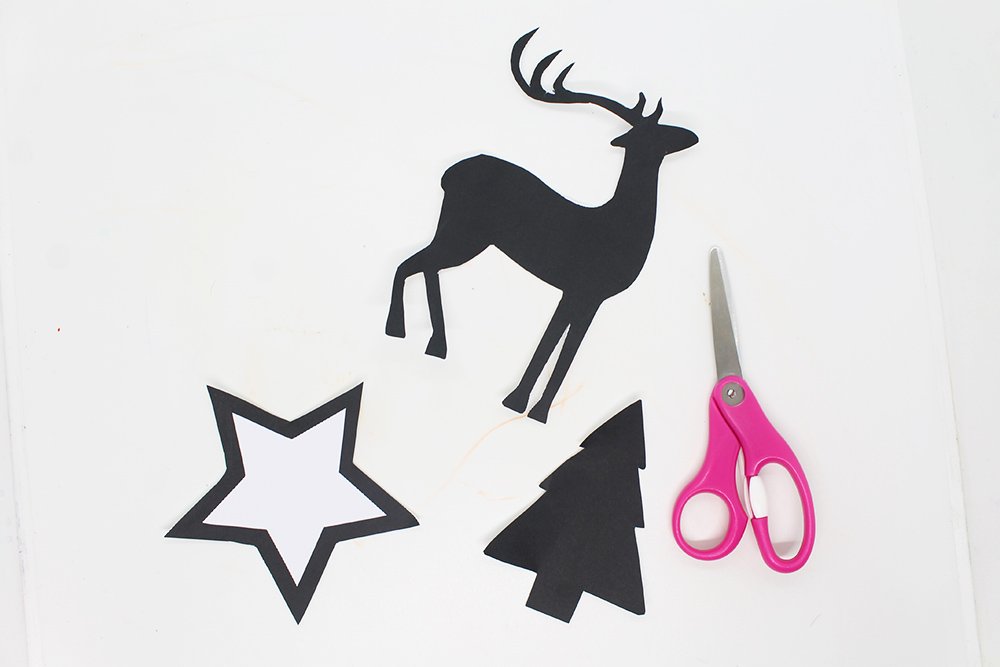
Then you'll have to carefully cut each shape out of the paper. The stencil will make this craft possible!
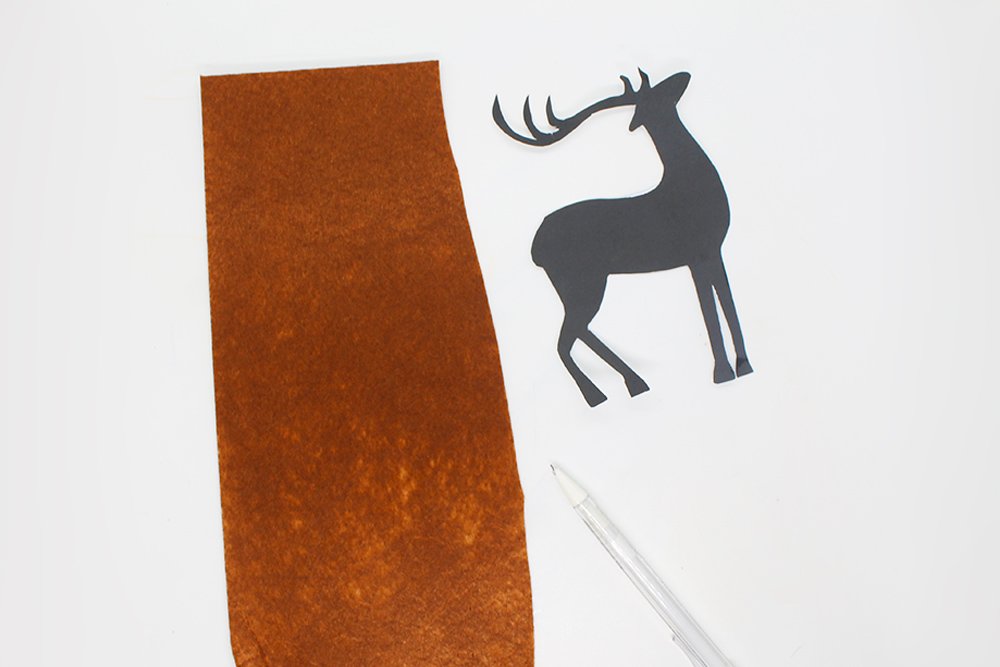
In this example, the deer felt was chosen. You could begin with the tree or the star first if you prefer. Just don't forget to read the entire guide .

Put the deer cutout on top of your felt paper and start tracing its silhouette . You can use a pencil or a pen. We recommend using a pencil as you can erase your mistakes ( if you make one).
Cut out the felts made using the stencils
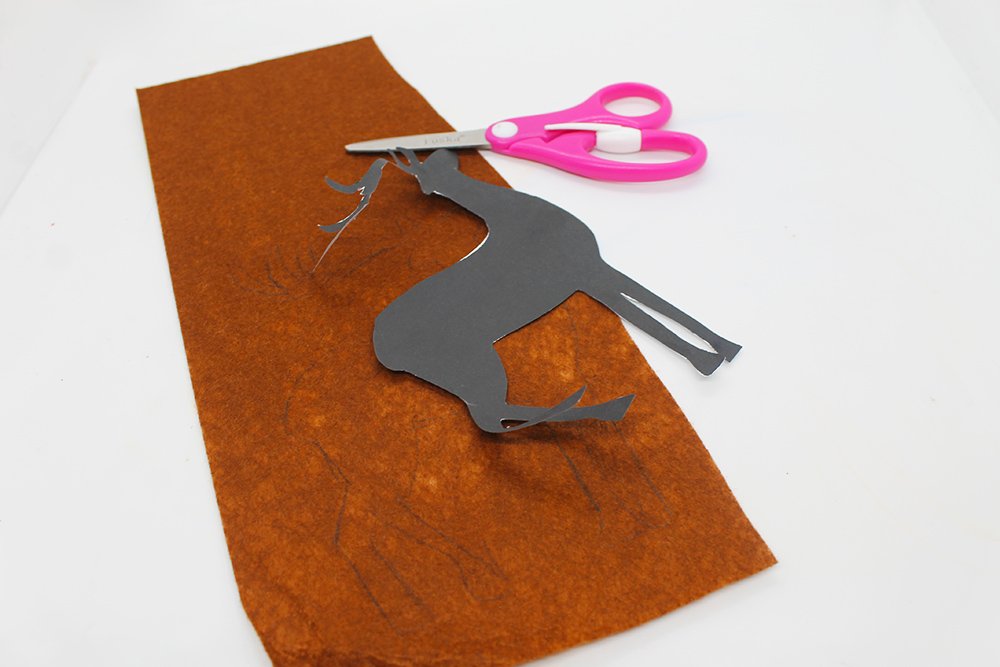
After doing a good job at tracing the deer, it is now time to cut the shape, a deer in this case, out of the felt paper!

Once cut, it should look something like this.

Do the same with the other stencils if you want! Get your other colored felt paper, pen, and scissors. Repeat the tracing paper like what we did with the deer.
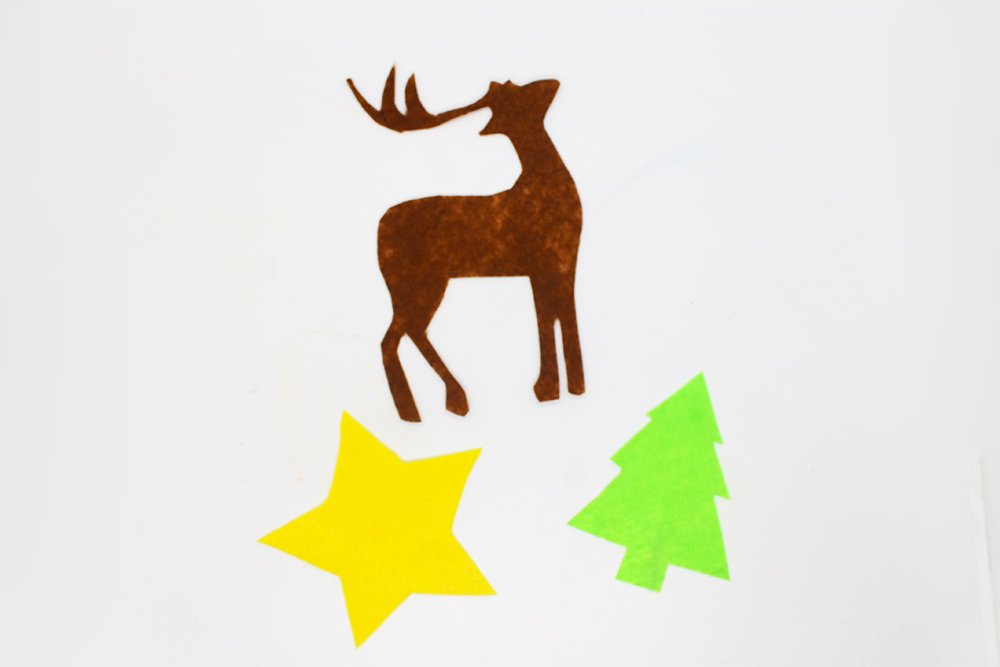
This guide went for yellow stars and green Christmas trees; what will your color combinations be?
Attach strings to the felt ornaments
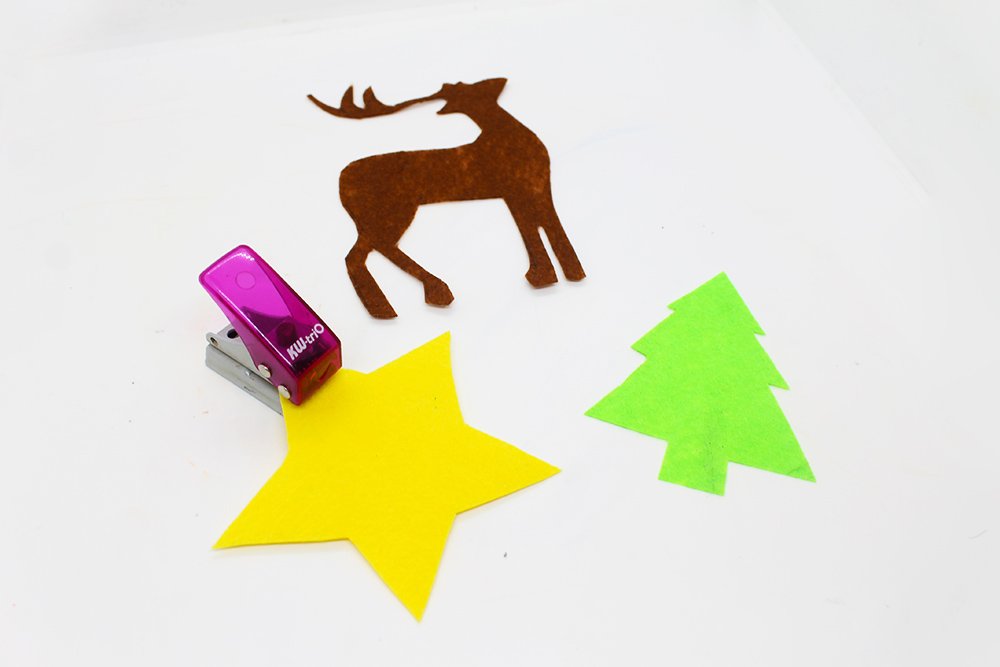
Next, get your single-hole puncher and make some holes in the upper parts of the felt cutouts.
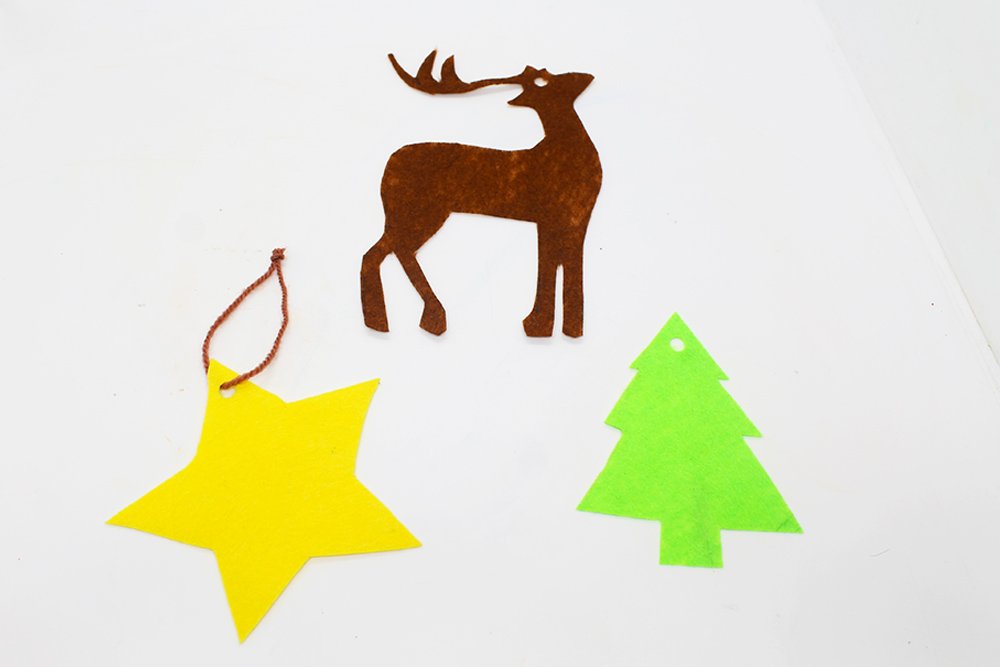
After making holes for each shape, attach a strap to one of them. To do this, cut a length of yarn, then insert it into the hole. Then tie the ends together so you can make a strap.

Repeat the process with the other christmas decorations. Awesome job so far! But we are not done yet as we can take it up notch by adding some flair to our ornaments.
Add Details to the Felt Projects
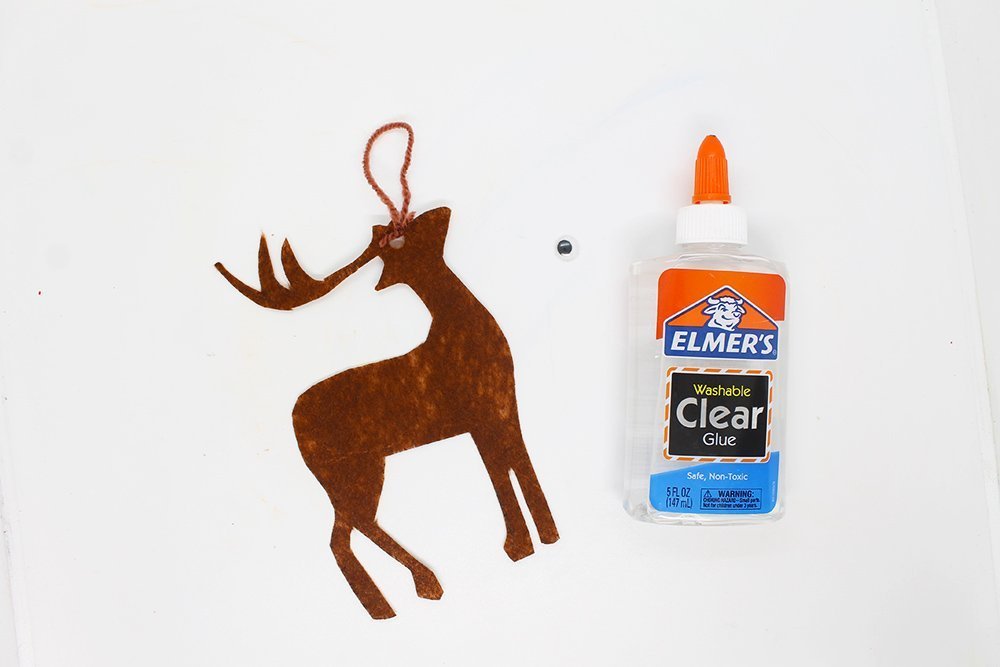
Deer Felt: Get your glue and googly eyes because you will make this reindeer come alive.
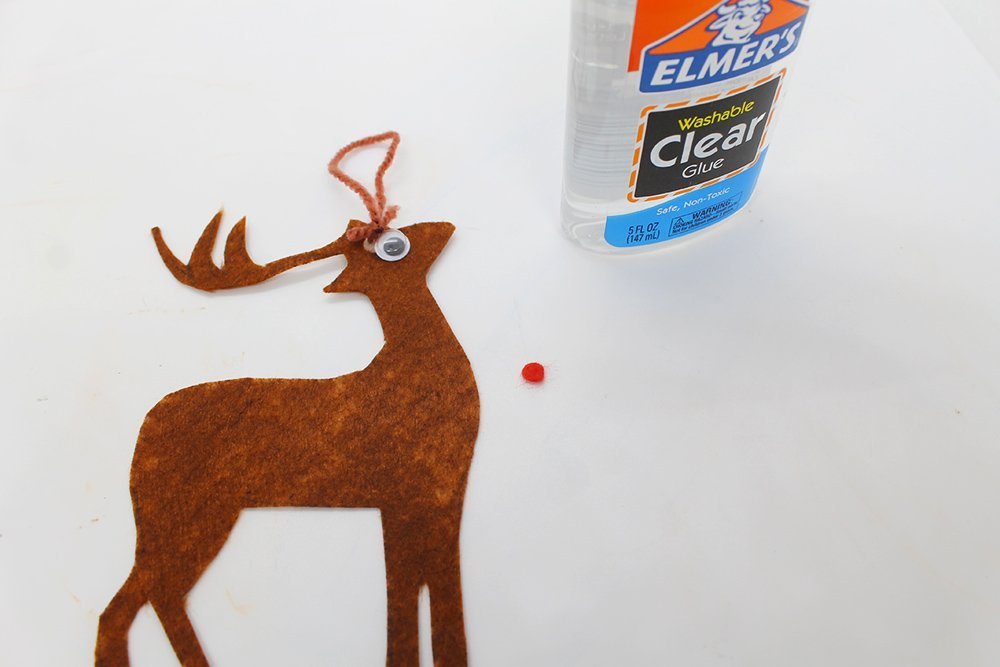
Simply paste the eyes onto the face of the deer felt. Cool, right? But you shouldn't stop there - get a tiny red circle for the nose of the deer.
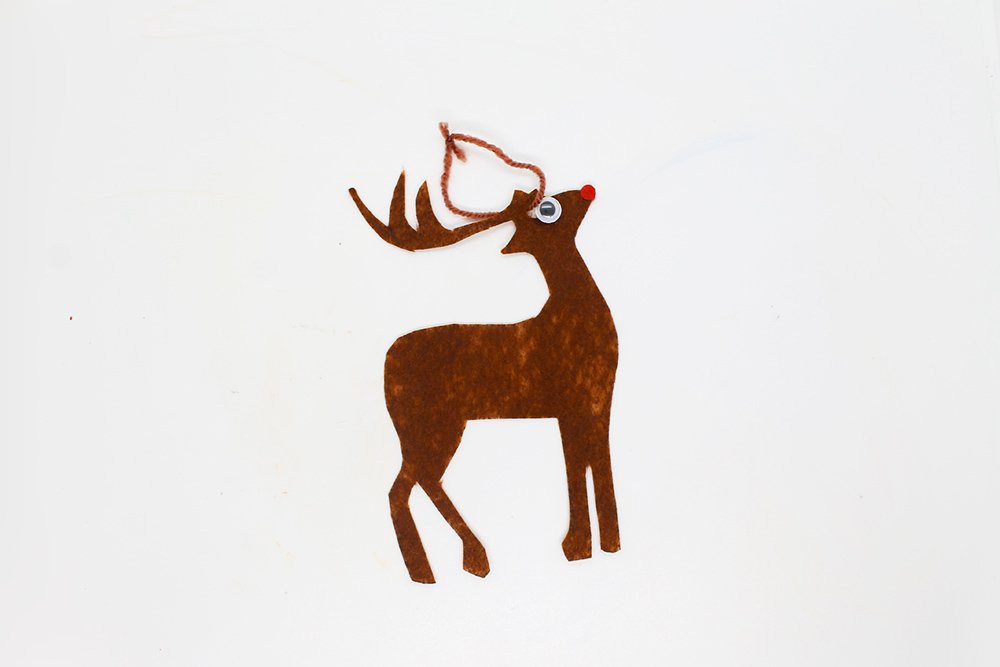
Paste the red object to the felt. The nose could also be made of red felt, colored paper, or something else. This would make the reindeer look more like Rudolph.
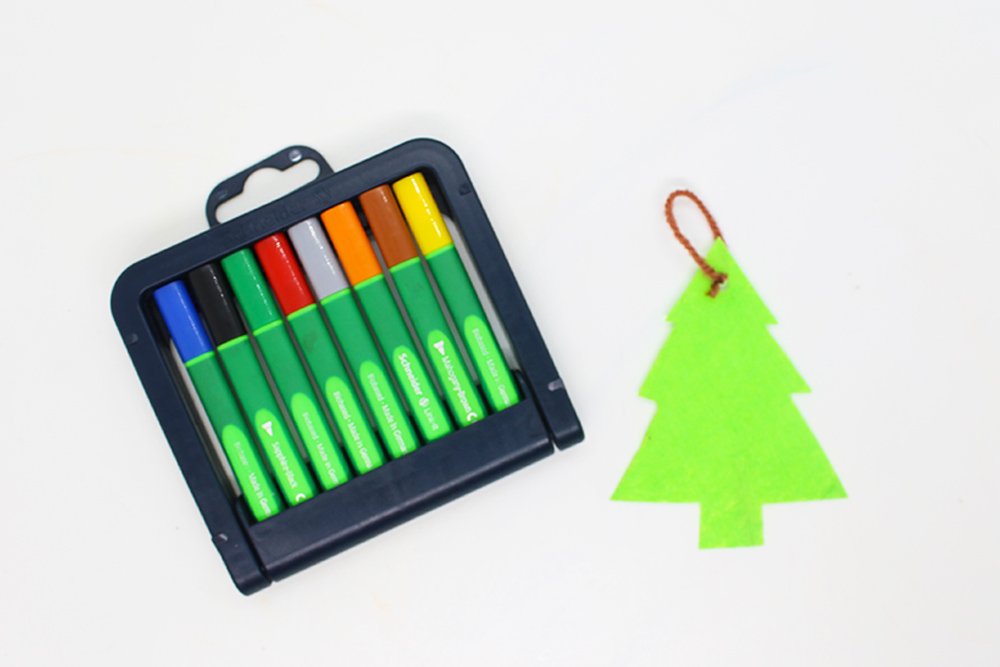
Christmas Tree Felt: Get your Christmas tree felt ornament and your coloring materials. You're going to make the tree look livelier!
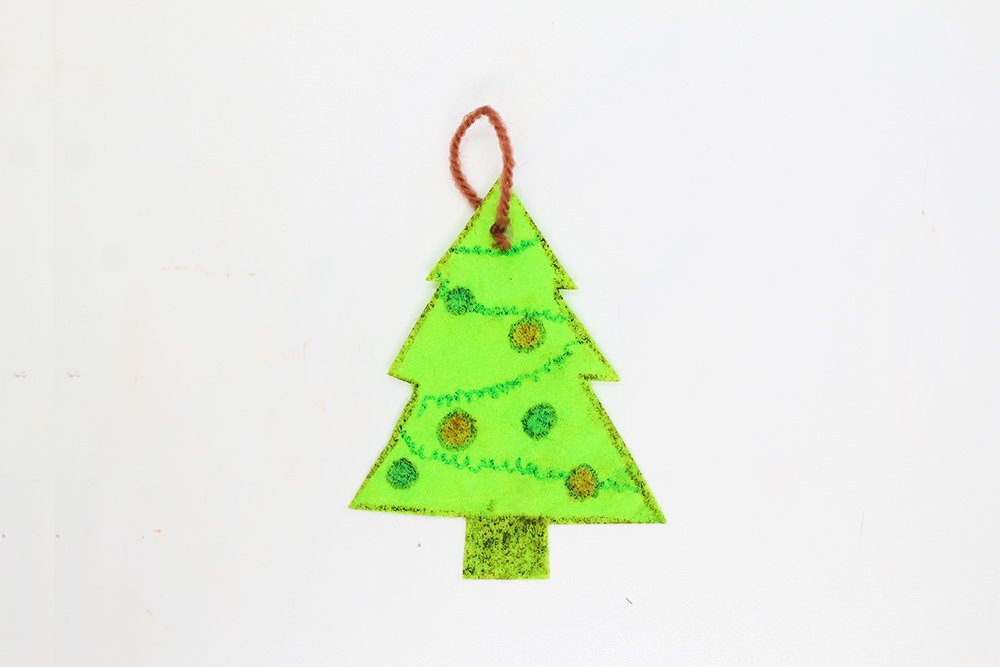
Use the coloring materials to draw the decorations of a typical Christmas tree. Like Christmas balls and candy canes.
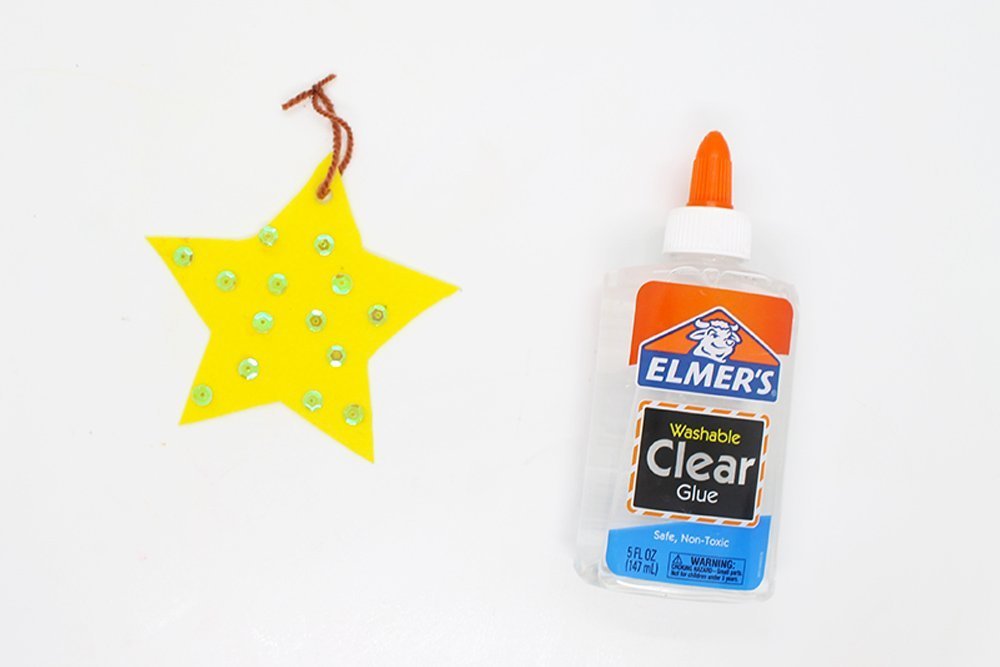
Star Felt: Don't forget the star! Get your sequins and arrange them before gluing them onto the star.
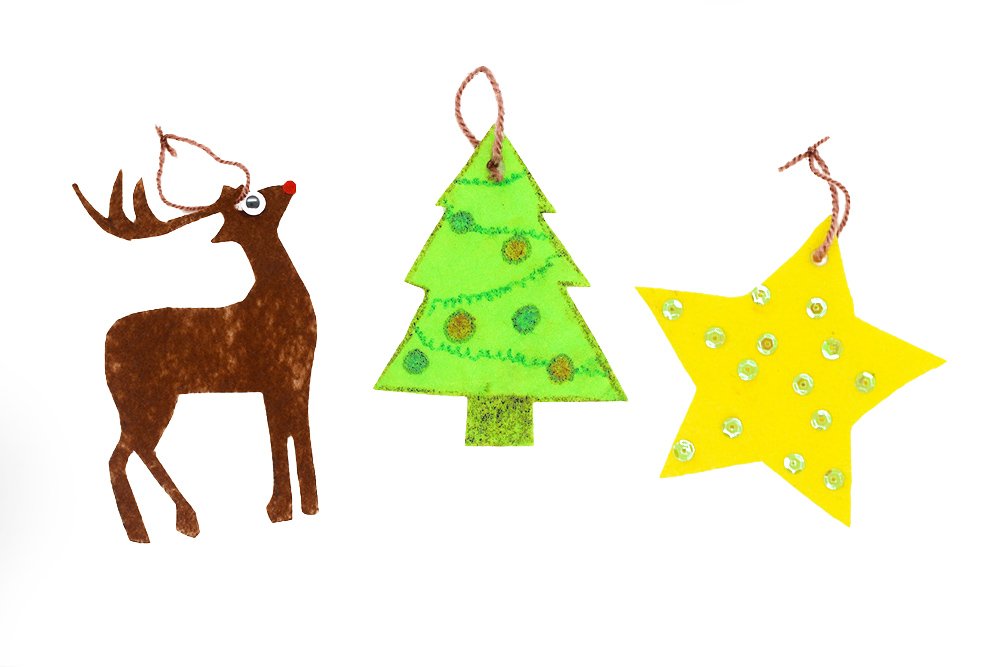
Congratulations you are finished with this activity.
Extra Tips
- You can use them now as decorations come the Holidays! There are other ways you could decorate each and every felt so have fun with it!
- A fun way to make these felt decorations as a group is to follow the assembly line model. And let the kids act like Santa's elves! It will be a fun activity for young kids.
- Check out our other Christmas crafts, from kid's DIY to napkin folding. We have dozens of articles on Christmas crafts.

 6
6


